Comprehensive Installation Guide for Lorex Cloud App
Download Lorex Cloud for PC for Free
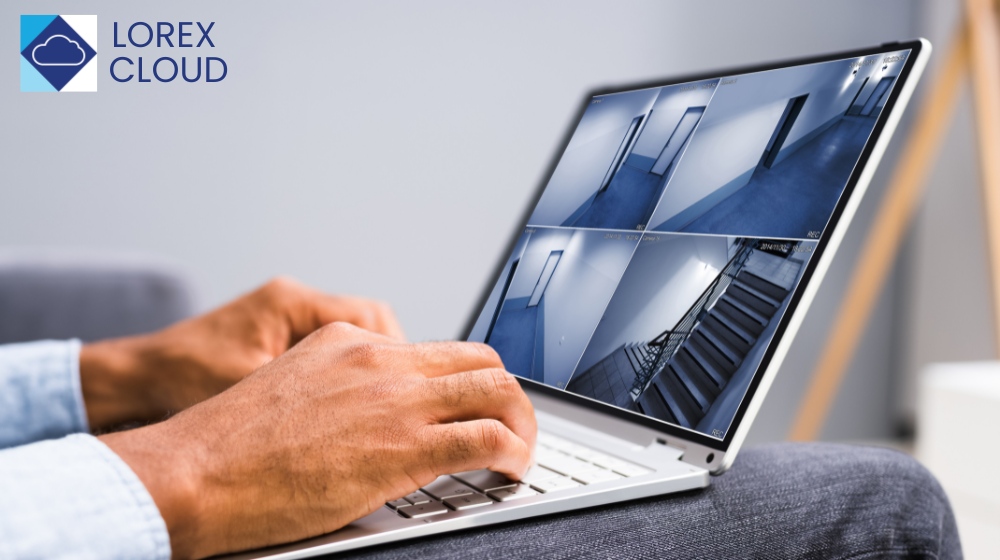
Install NowBefore we dive into the steps required to install Lorex Cloud, it's essential to understand some basic details about this app. Serving as a powerful surveillance system, Lorex Cloud app allows users to view real-time security footage from their cameras, get instant alerts, and manage their security system from anywhere using their smartphone or tablet.
Lorex Cloud App Compatibility
All it requires is a secure WiFi or data connection, transforming your smartphone or tablet into a monitoring device. For a seamless experience, ensure your device's operating system is compatible with the app. The Lorex Cloud app runs smoothly on multiple platforms, including iOS and Android devices.
Key Steps to Install
- Firstly, navigate to our website.
- Now, you are ready for Lorex Cloud install. Simply tap on the 'Get' or 'Install' button next to the app listing. This will initiate the app download and installation process.
- Once the app is installed, open it and register with your login credentials or set up a new account if required.
Device Configuration Post Installation
After you install Lorex Cloud app, the next task is to configure your device with the app. Tap on the '+' sign on the top-right corner of the app to add a new device. Input the system's details, including the device ID and the client port number. You can find these details on the product box or in your system's network settings. Finally, test the connection to ensure the device has been successfully paired with the app.
Benefits of Lorex Cloud App
Once the installation process is complete, users can enjoy a myriad of benefits including remote viewing, instant alerts, multiple channel views and playback of recorded events. This tailored user experience is bound to ensure top-notch security specifications, thereby making Lorex Cloud a must-have in today's security-conscious world.